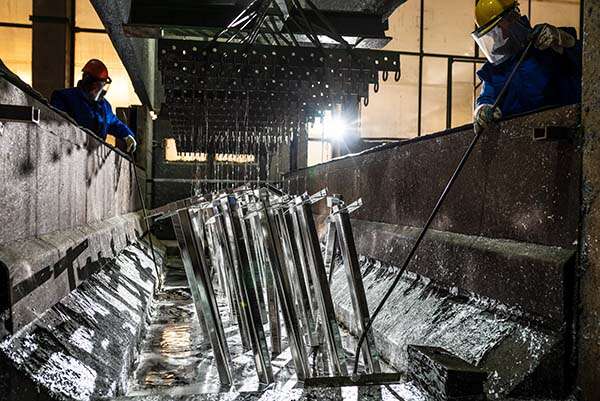
The quality of the plating bath solution affects the characteristics of the plated layer and the time to achieve the required thickness. Testing the bath chemistry is essential to ensure the correct composition. Keeping a close eye on this also helps to ensure the bath itself is not being corroded by the plating solution.
The main challenge is that the plating bath solution is not a constant. Once the correct constituents are added, the plating process itself changes the solution’s composition, impurity level and, in some cases, acidity. This means that you need to test the bath at regular intervals to maintain the quality of your plating process over time and the more plating you do, the more frequently you’ll need to test.
Currently, plating bath solutions are analyzed using complex analysis methods such as titration or atomic absorption spectroscopy (AA). While these methods are certainly accurate and give platers the information they need to assess their solutions, they are complicated, and samples need to be sent off-site for analysis. And the samples themselves must go through a time-consuming preparation process using concentrated acid to digest the bath solution. By the time you get results from your analysis lab, the plating solution could have changed again from when you sent the sample off for analysis. What’s needed is a relatively simple, fast, in-house technique that can be carried out by non-chemists. And this is exactly what XRF delivers.

X-Ray fluorescence as a technique can be applied to solids, liquids, solutions, and pastes. Compared to AA, sample preparation is far simpler with XRF as the plating bath does not need to be digested or diluted. This means that all you need to do is take a small amount of bath solution, pour it into the sample cup, place the lid on the cup and place it within the analyzer. You then select the right recipe and press start – within a minute you’ll have results for the elements you’re interested in.
This means that you can afford to take more frequent measurements to ensure the plating bath composition is going to produce the right finish. And results can be obtained quickly enough to check the solution before every shift, or at the beginning of the working day.
In the table below, we’ve presented precision values for a selection of plating bath chemistries commonly used in plating shops:
|
| Sn | Ag | ZnNi / Zn | ZnNi / Ni |
| Concentration | 10 - 50 g/l | 15 - 35 g/l | 0-15 g/l | 0 - 3 g/l |
| Error | <10% | <10% | <10% | <10% |
| Precision | 0.11 g/l | 0.10 g/l | 0.08 g/l | 0.06 g/l |
You can see that you get excellent precision for these solutions using the same instrument used for measuring plating thickness. It is important to note that measuring trace contaminants by XRF requires a different kind of XRF setup. This may well be worth it for the time and cost savings you’ll get over external laboratory analysis as well as greater ease and convenience compared to other analytical techniques.
If you found this interesting and would like to learn more practical ways to use your XRF analysis to bring cost saving and process efficiency into your plating processes, then you can download our free guide Understanding your XRF: A Guide for Plating Shops
In addition to analyzing samples of irregular shape, this comprehensive guide includes:
Download your guide below.
Get in touch