From your customers’ perspective, a good quality part is one that meets their specification exactly. As a manufacturer or fabricator, good quality control means you can produce good quality parts at the lowest reasonable cost.
If your manufacturing processes are out of control, then your production costs increase. This is seen as ‘the cost of poor quality’. Studies have found that the cost of poor quality can be as high as 40% of total revenue, with the average around 25%. In manufacturing, rework, scrap, customer returns and warranty recalls all add to the cost of poor quality.
Of course, if you’re supplying critical industries like aerospace or automotive, poor quality could cost more than just money if a part fails in the field.
On the flip side, if you have good internal quality control, then you can keep rework and replacement costs down, and run a more efficient production environment. You’ll be able to determine where you’re losing money, time and bring your processes into control.
This has a knock-on effect to help with on-time delivery, production planning and capacity management. Heavy-weight quality methodologies, like six-sigma, also help with cash-flow by keeping work-in-progress and stock levels to a minimum.
In manufacturing or fabrication, it’s relatively straightforward to introduce steps to control your own processes. But as you are part of a supply chain, any errors made by your suppliers could give you quality problems unless you take action to verify check incoming material.
For example, using the wrong alloy in production could affect the workability of the material, the performance of the part or flout industry legislation. In terms of the cost of poor quality, it could be anything from a small cost to rework a part and send the material back, to reputational damage if the part experiences widespread field failure.
Yet the wrong alloy could enter production in several ways:
As a manufacturer, you can take steps to ensure that these don’t happen and prevent these issues from impacting your own customers further down the supply chain.

Using the right PMI (positive material identification) equipment keeps the cost of quality down, as checks and verifications can be done quickly and easily. Here’s how:
Incoming inspection
It’s straightforward to verify incoming materials to ensure the quality of raw materials and that the material matches the certificate.
In metal production, you’ll want to ensure the metal meets grade specific limits for main and trace elements in metal production whilst if you are a fabricator, you’ll want to verify what you are getting from your metal production company, including testing for elemental composition.
Hitachi’s range of mobile and stationary OES analyzers (optical emission spectroscopy) provide fast, high accuracy testing of the composition and trace elements of metal alloys. This means you can verify incoming material in seconds in metal manufacturing.
For fabricators, you’ll want to choose a handheld LIBS or XRF analyzer. Hitachi offers product ranges with both technologies. If you also need to test for elemental composition, then choosing an OES or a handheld XRF is the way to go.
Factory floor process control
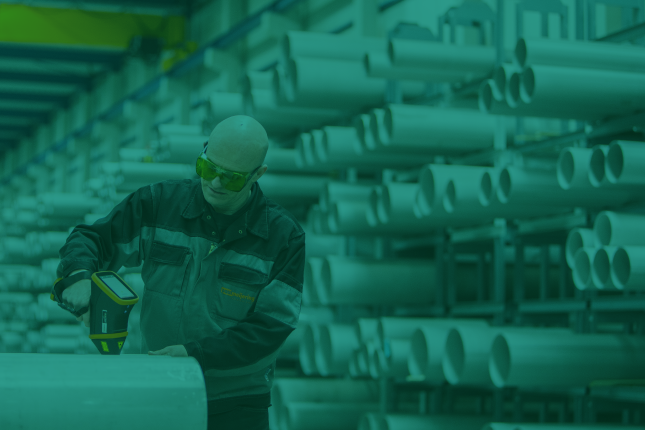
By using a portable analyzer, operators can carry out a quick test on the material before machining, ensuring the right part has been taken from stock to avoid material mix-ups. These techniques are also useful for checking the composition of processed parts for double-checking your own procedures.
Depending on your process and material, handheld LIBS or XRF analyzers, or mobile OES fit the bill. Hitachi High-Tech’s Vulcan handheld LIBS analyzer can perform alloy identification in one second, whereas XRF is an accurate and totally non-destructive test for almost any material, including metal alloys. Mobile OES also is an option for you if you need to reliably detect trace elements like carbon, boron or sulfur in steel or nitrogen in duplex steels.
Final inspection
For final inspection before shipping to customers, XRF is the technique you need as it’s non-destructive (NDT). The test will allow you to verify the composition of the material and take any readings necessary for regulatory compliance screening.
Hitachi’s handheld XRF range, the X-MET8000, is ideal for a final inspection environment. The highly accurate reading can be taken in seconds with a device the size of a drill and no mark is left on the measured surface.
Hitachi High-Tech’s range of analyzers can be used across the metal production, fabrication and product manufacturing process to ensure quality control, helping you reduce your cost.
Keen to learn more? View our infographic on the QA/QC process to see exactly which instruments fit in what part of the process.
To discuss your own analyzer requirements for fast and accurate quality control, contact us today.
QA/QC Infographic