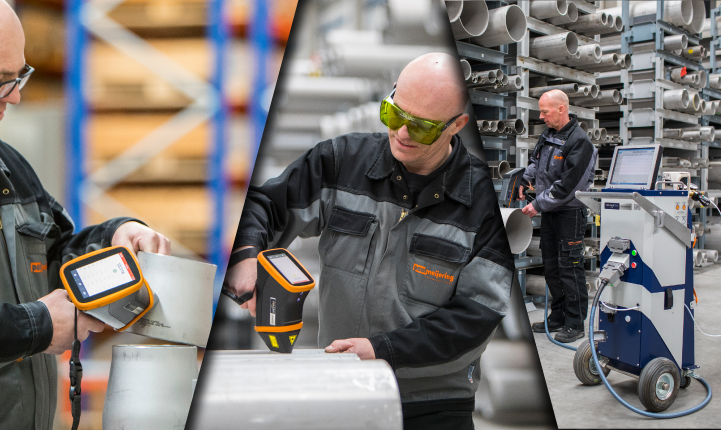
Positive material identification (PMI) is a quick and non-destructive way to determine the chemical composition of materials used as part of a range of industrial processes. As PMI becomes more central to organisations, here’s a quick guide on the dos and don’ts of PMI.
Making sure that you have the necessary training and certifications to use your PMI analyzer of choice should be at the top of your list of priorities.
For LIBS analyzers using a class 3B laser and any XRF, you’ll need to register your instrument and also have the relevant supervisor and protection representatives in place. As regulations vary country by country, do make sure that you know what they are for yours. For example, in some countries for XRF analyzers, you may need to go on a training course that lasts up to two weeks.
Do get training in radiation, which can be a legal requirement in your country, and operational. At Hitachi High-Tech, we offer basic operational training at installation as well as a dedicated training academy and other ongoing training opportunities for the different instrument types.
Don’t assume that you can get away without any training or certifications. If you are untrained, you will not be allowed to operate.

Do make sure that the material being tested is bare metal. If you want a precise determination of elements such as carbon or nitrogen in duplex qualities, taking the time to properly prepare your samples is essential.
Do adjust your prepared surface to fit the requirements of the measurement tool you are using. Don’t assume that different instruments all have the same specifications. You can use adapters to deal with curved surfaces, welding seams inspection and wires.
Don’t test materials that have a thick coating that would disrupt the analysis. This includes materials with colour, grease, oil residues or other lubricants, as well as cinder or oxide layers.
Don’t touch the ground surface with your bare fingers.
Don’t delay too long with the analysis after you’ve prepared the sample. Waiting for too long could lead to oxidation and disrupt the accuracy of the analysis.
Don’t diamond grind. You want to ensure a smooth ground surface. This is especially important for OES, as the opening of the probe must be covered by the material to work best.
Do perform pre-analysis checks. You want to make sure that you confirm the type, form and quantity of the material and elements being checked, but you should also perform a few checks on the instrument itself. This will include daily maintenance and an analytical inspection with a reference material - we will provide you with a check sample. OES instruments for example, will need a check of the Argon supply and the burn spot (a bad burn spot indicates that the discharge is not condensed enough).
Do repeat your measurement. We would recommend a minimum of three repetitions to make sure that your analysis is as precise as possible.
Do follow the rules of radiation. You should always use handheld XRF instruments with the sample placed on a suitable surface and always held fully down. With an XRF analyzer, make sure that you are never holding the sample in your hand while taking a measurement.
Do use the right accessories if you cannot completely cover your samples while measuring. Talk to a member of our team about the specific requirements for your needs.
Do put a process in place for wrong materials. If something fails, you need to mark and sort the material away for possible further analysis and inspection.
Don’t measure on an edge or tilted surface. For XRF and LIBS this could mean scattered X-ray radiation or reflected laser beam, while for OES it could allow air to get into the measurement chamber. This could mean oxidation ruins the analysis.
Do ensure you have a minimum number of elements for the characterisation of a material, which need to comply with the material standard of the inspected material. For stainless steels, the distinction between 304 (DIN 1.4301) and 316 (DIN 1.4401) is Ni, Cr and Mo are critical.
Do remember that PMI is always a product analysis and this can or may differ from the melt analysis.
Do remember to produce a report that contains all the important data from the measurement.
Hitachi High-Tech’s range of PMI instruments are designed to need minimal user-training. You should be able to quickly integrate them into your operations and see the benefits of increased analysis speed and accuracy.
Our expert team has been helping companies get the most out of PMI analysis for 40 years. Talk to us about your how we could help you or a book a demo to see our instruments in action.
Find out more